1. Here's how
You will need a special Color Map texture with an Alpha Channel in order to make some parts of a Standard Material more emissive than others.
A Color Map (Diffuse) texture has normally got 3 channels: red, green and blue.
In addition to the red, green and blue channel, you can add a socalled Alpha Channel to the texture if you've got Adobe Photoshop, GIMP or a similar image editor.
The Alpha Channel can be used for 3 different purposes in Lumion:
- Making some parts of a material more or less transparent.
- Making some parts of a material more or less reflective.
- Making some parts of a material more or less emissive.
In this article we will focus on the third option, i.e. making some parts of a material more or less emissive than others.
1.1: If you are using Adobe Photoshop, please click on the link below to see how to add an Alpha Channel to an image:
External Link: Adobe Photoshop Help: Create and edit alpha channel masks

1.2: Then paint the Alpha Channel with grayscale tones. A pure black color will not be emissive at all in Lumion and a pure white colour will be fully emissive. Grayscale tones will be more or less emissive depending on how close they are to pure black and pure white:

1.3: Once you've added the emissive mask to the Alpha Channel of the texture, please click on the link below to see how to save it to a 32-bit Color Map texture in TGA, BMP or TIFF format.
External Link: Adobe Photoshop Help: Save files in graphics formats
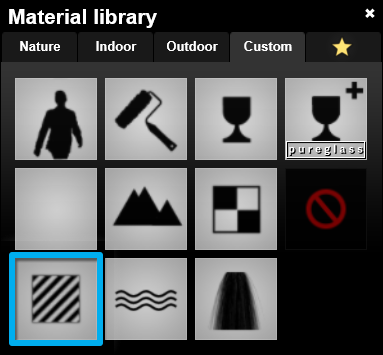
1.4: Then open Lumion and add a Standard Material to the surface:

1.5: Assign your Color Map texture with the Alpha Channel to the Color Map slot in the Standard Material:

1.6: If the full settings are not shown, then click on the Show Extended Settings button:
1.7: Click on the Settings tab and then the third Texture Alpha button:
1.8: Adjust the Emissive slider as desired:

A low value brightens the Material and a high value makes it glow.
See also:
Knowledge Base: What do the properties of the Standard Material mean?
