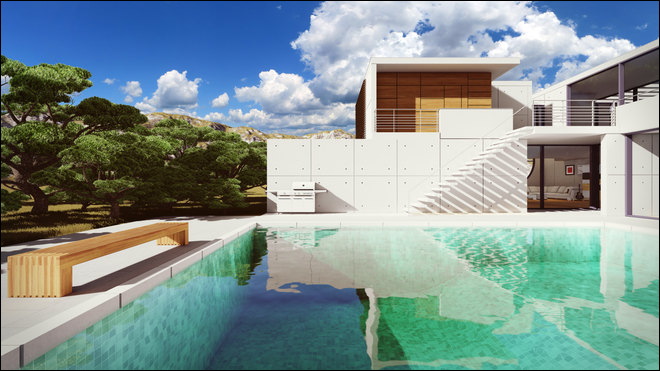
1. Here's how
The guidelines below assume that you have got access to Adobe Photoshop or a similar image editor.
1.1: Render an uncompressed image in .TGA, .PNG or .BMP format: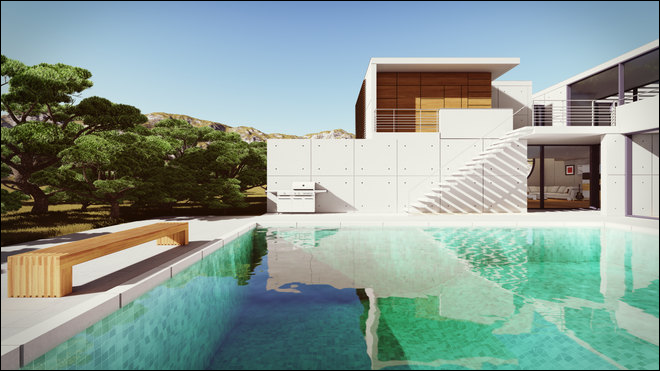
1.2: In Lumion 8.5 and older, please disable any effects that change the contrast, saturation etc if you want the cleanest possible Custom Output Maps:
- Chromatic Aberrations Effect.
- Selective Saturation Effect.
- Noise Effect.
- Bleach Effect.
- Analog Color Lab Effect.
- Bloom Effect.
- Vignette Effect.
- Color Correction Effect.
- Sharpen Effect.
- Material Highlight Effect.
- Blueprint Effect.
- Tilt shift Effect.
- Depth of Field Effect.
- Volumetric Sunlight Effect.
- Handheld Camera Effect: Radial Gradient & Film Age.
- Water Effect: Underwater.
- Cartoon Effect.
- Manga Effect.
- Oil painting Effect.
- Outlines Effect.
- Painting Effect.
- Pastel Sketch Effect.
- Sketch Effect.
- Watercolor Effect.
- Exposure Effect.
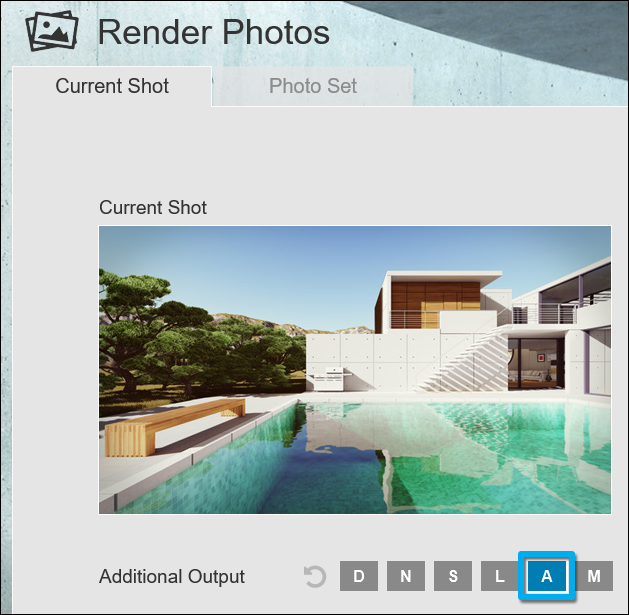
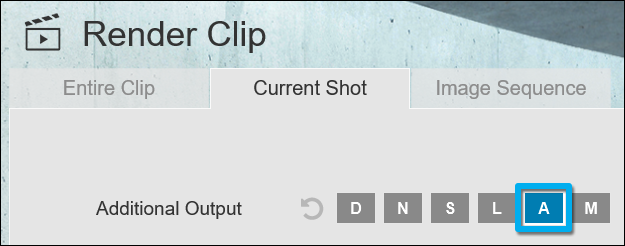
1.3: In Photo Mode or Movie Mode, render a Sky Alpha mask in .BMP format:
Photo Mode:
Movie Mode:
Sky Alpha map example:
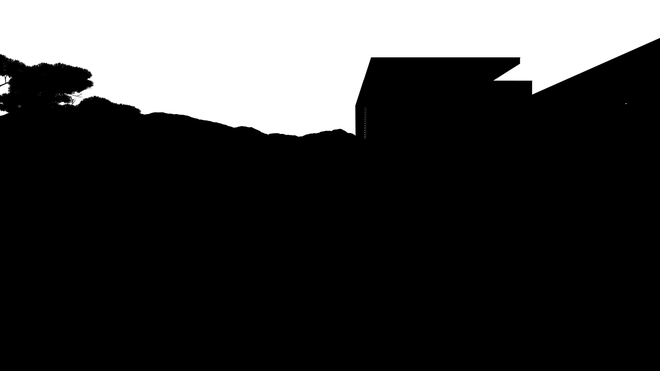
1.4: Add a duplicate of the Sky Alpha map to a new layer in the still image in Adobe Photoshop: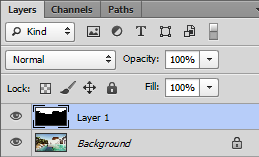
1.5: Select the Sky Alpha mask layer and in the top menu, select:
Select -> Select Color Range -> Fuzziness = 200 -> Click on the black part - > OK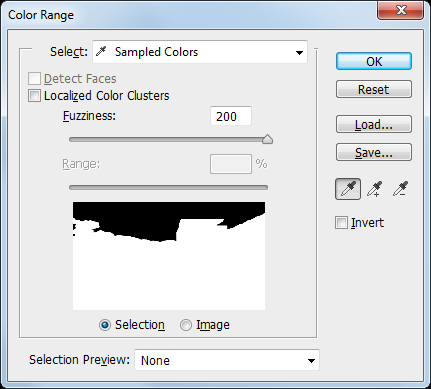
1.6: Hide the Sky Alpha mask layer.
1.7: In the top menu, select:
Edit -> Copy Merge
1.8: In the top menu, select:
Edit -> Paste
1.9: Hide the Background layer: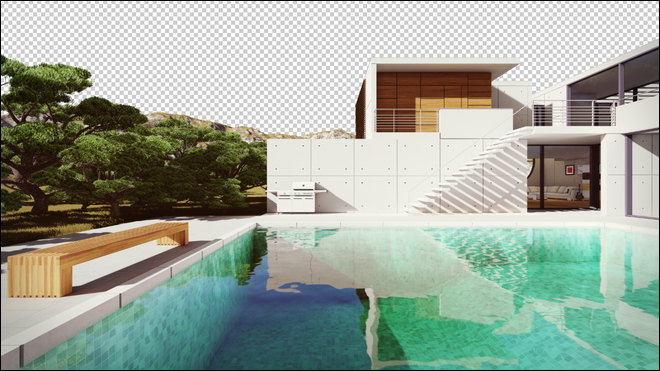
1.10: In a new layer below your cut-out building layer, paste a sky photo of your choice and adjust it as desired: