Lumion BLOG
Feel the space with Lumion
Step-by-step guide to making this striking render in Lumion 7
TweetShareShareShare
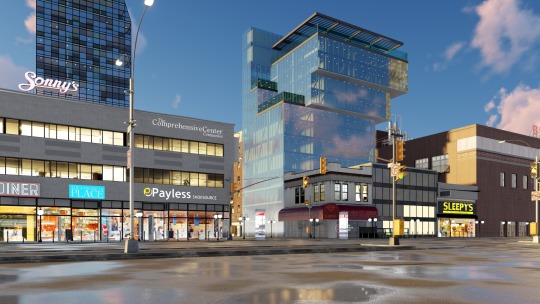
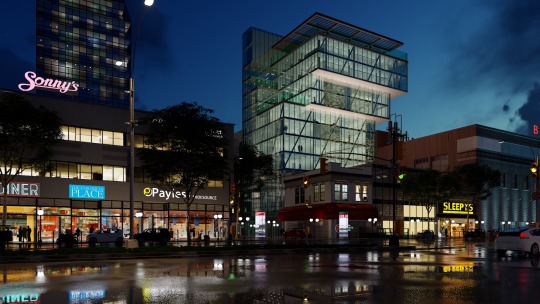
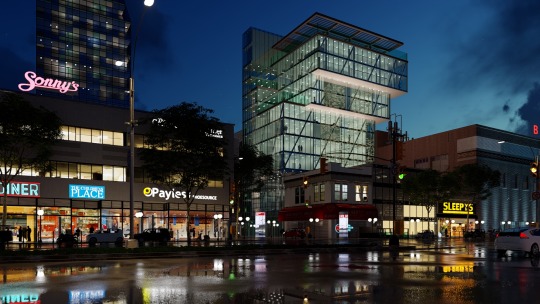
Above: Render made in Lumion 7
Find out how to transform a plain-looking 3D model into the impressive render shown above using only Lumion. Step-by-step this blog takes you through the process of creating something magical starting with importing your model right up to rendering it.
1. Import model
Save your model in your modeling software and then import it into Lumion
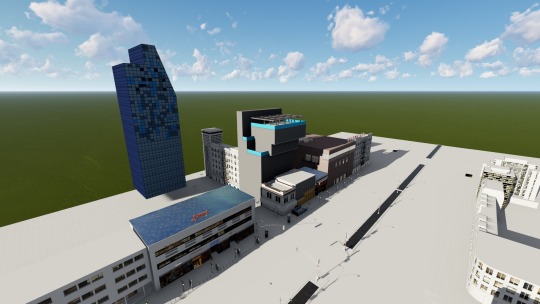
2. Find the right point of view in the scene
This takes practice but it’s a lot about image composition. For more about this subject read this earlier blog.
3. Select materials
Apply Lumion materials or import your own material textures and apply them to your model in Lumion.
4. Two-point perspective
Apply two-point perspective. It’s necessary here because of the many vertical lines in the image and because many architectural visualizations use 2-point perspective as a standard.
5. Add objects
Add some of the objects necessary to complete your scene and to get it looking more natural. In this image, the trees and a little grass have been added.
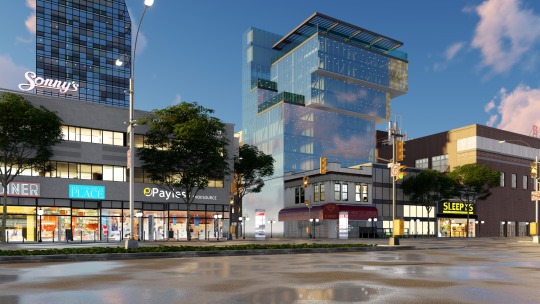
The sun is a key part of getting the lighting right and creating the right background for the model. Adjust the sun position until the lighting and the background look right. In this image we are searching for an evening mood.
7. Adjust shadows
Use the shadow effect to adjust the shadows. In general, they are important in adding reality to your image and to make objects look more like they belong where they are. In this one the shadow coloring has been adjusted to fit the sky color by emphasizing blue.
8. Adjust cloud
Adjusting cloud is a subtlety but in this case clouds have been smoothed to create the right feeling in the sky, without directing attention away from the architecture.
9. Add lights to buildings
It is always important to put lights inside buildings to make them look lived in and used, like they would be in real life.
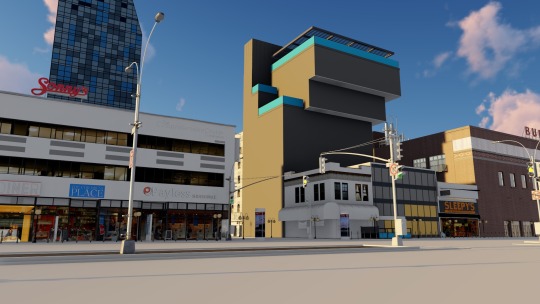
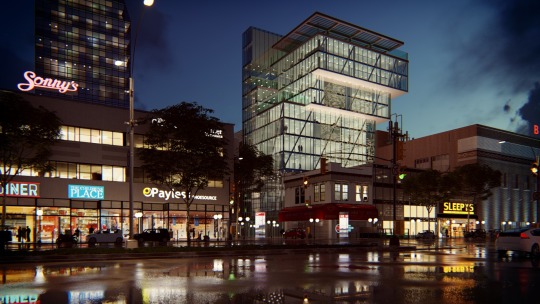
10. Add outside lights
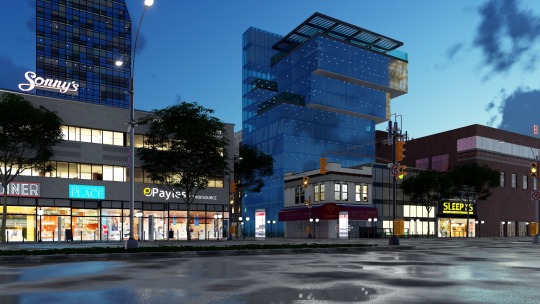
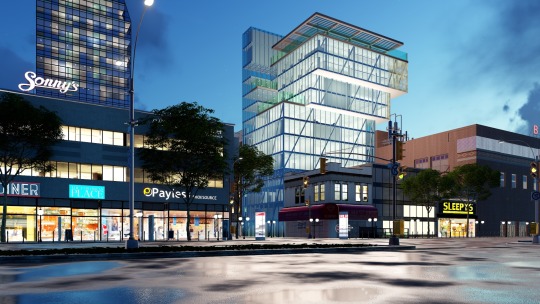
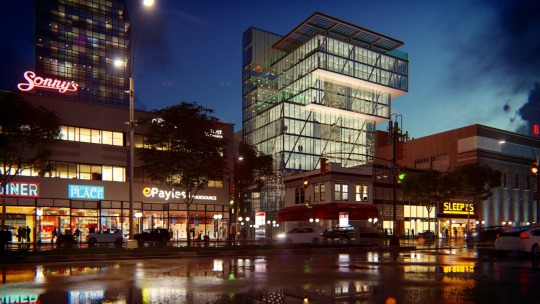
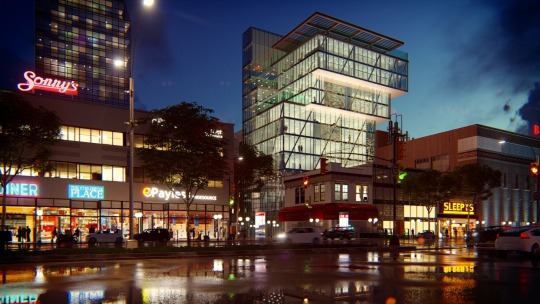
Add lights outside to lighten up some of the dark areas. Look at the building on the right of the image below, as well as the low building in the centre of the image with the red awning. Then compare the same areas with the unlighted image above. The overall aim is to make the street look more natural.
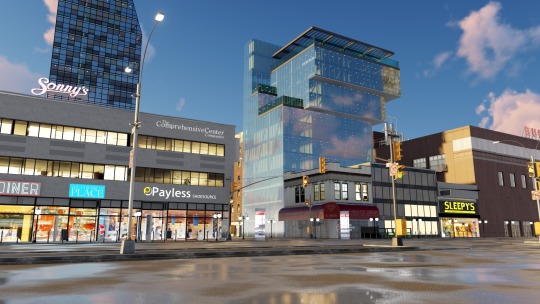
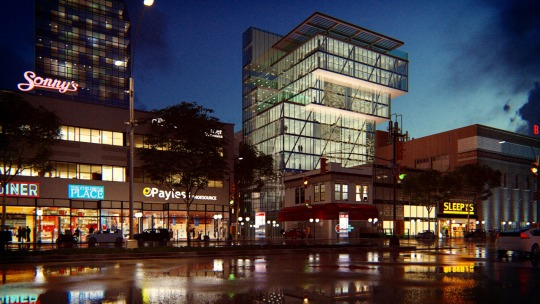
A new feature in Lumion 7. It’s important in tweaking the lighting and makes all the difference in the final render. In this step, area lights have been placed on the front of the glass shopping facades, as well as on the ground in front of the shop windows, to immitate light reflection from the ground.
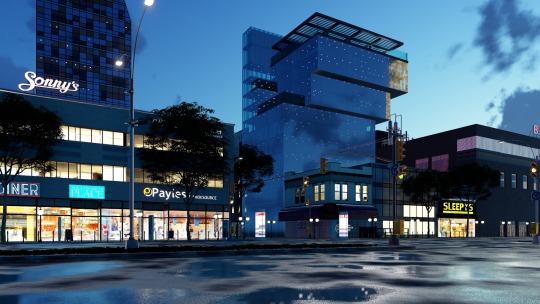
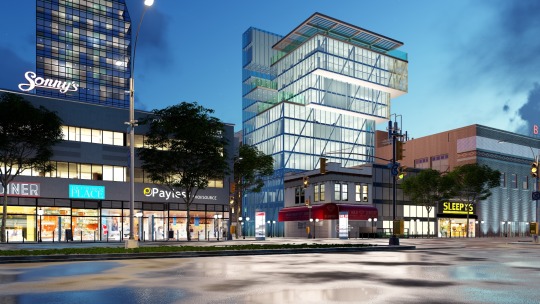
Reflections are critical. They are a key part of this render because the wet asphalt takes up such a large part of the image. In Lumion it’s possible to add ‘speedray’ reflections and reflection planes, using the reflection effect. The idea is to get high quality reflections. In this image, speedray reflections have been turned on and 5 reflection planes have been added to the large glass surfaces and the wet asphalt material. The difference it makes is quite obvious!

13. Exposure
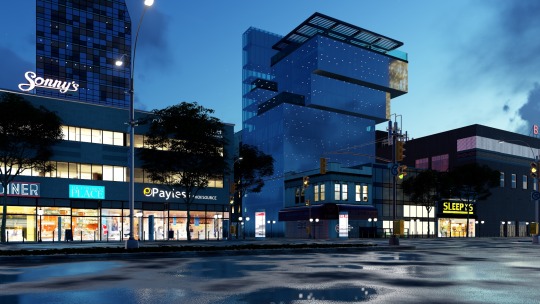
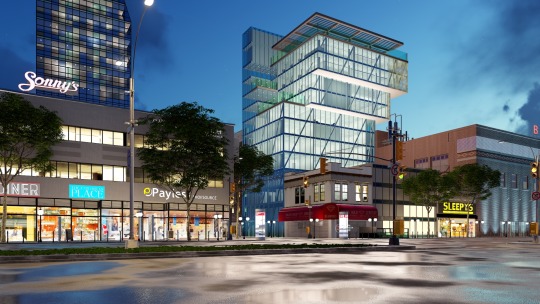
The exposure effect is a single slider with a high impact. Exposure is adjusted at this stage as preparation for further tweaking of the lighting. The reduced exposure has the effect of decreasing the brightness while emphasizing colors.

14. People and cars
Add people and cars in the build mode of Lumion. The aim is to make the street more believable, as though it’s just a routine everyday scene.
15. Depth-of-field (DOF) effect
Apply a small amount of the depth-of-field effect. It immitates real camera optical behavior and the human eye expects to see some slight DOF effect when it looks at an image. It also has the side-effect of making light spots a little bit bigger, which makes them appear more natural. For example look at the lights in the upper levels of the building in the centre of the image. It’s a detail but helps take one step towards more realism.

16. Sharpness
This is a subtle effect which is controllable with one slider in Lumion. It enhances tiny details in an image and makes edges and material details sharper. It is added at this stage because it removes some of the bluriness introduced by the depth-of-field (DOF) effect, without removing its positive aspects.
17. Chromatic aberrations
A very small amount of the chromatic aberration effect has been added. It introduces a slight distortion to the image and adds another subtle element of realism. It simulates the natural aberrations of the lens of a camera. This is something which all lenses have and the human eye expects to see these artefacts in an image.

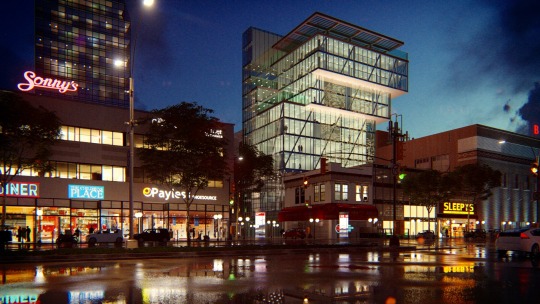
Coloring is important and almost always needs tweaking. Plain looking colors should be adjusted to look more subtle. In this case the analog color effect has been used to emphasize the warm colors of the street. Before adding the effect, the street looks a bit grey but after adding, the greyness has been removed, the street looks warmer and is better contrasted in relation to the blue evening sky.
19. Noise effect
The noise effect introduces noise artefacts into the image and simulates the natural imperfections of a camera. It adds another component of realism to the image.

20. Color correction
The color correction effect is another way to adjust the color. In this case, the color has been adjusted so that it’s more saturated and the color differences have been exaggerated.
21. Lens flare
A slight lens flare effect has been added and is visible around point light sources. Again, it’s an immitation of a natural optical effect of all lenses and contributes to increased realism.
Cars have been added and animated. In the single images you don’t see the movement but you can simulate this with motion blur (the next effect to be added).

Motion blur adds the feeling of movement to the image.
24. Hyperlight
Last but not least, Hyperlight is added at the render stage. This is important to make sure that reflected light is properly handled in the image. It changes the image quite considerably. In this case the Hyperlight intensity slider was set at around 50%.
#Lumion