Lumion BLOG
Feel the space with Lumion
Step-by-step to quickly create this custom interior style
TweetShareShareShareExpose the depth of your interiors. Help viewers feel the space. And discover how to create this stylish and effective interior render, without wasting a second.
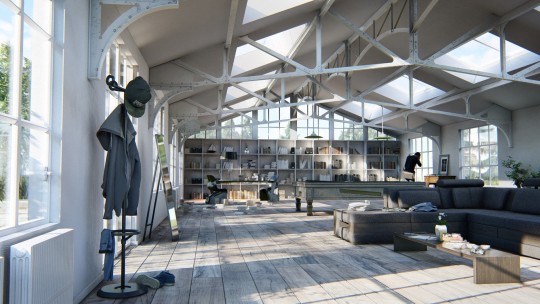
You’ve imported your 3D interior model into Lumion, added context and textured every facade and object, from the wooden floors to the weathered, steel beams running across the ceiling.
And before rendering the image, there’s one final thing to do — add effects.
Hunting for the right arrangement of effects can take time. Although the Style button includes eight presets for instantly producing an attractive look, you may need something a little more customized and better aligned with a style and mood you want to express.
How to quickly create this custom interior style
In the following video, you’ll see how we went from Lumion’s Interior Style to a custom look that truly brings out the beauty and space of this interior.
Want to create this style yourself? Follow the step-by-step instructions below.
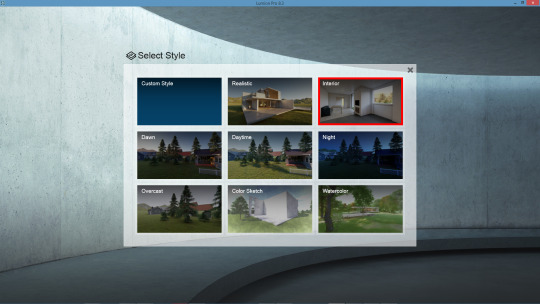
Step 1: Choose the Interior Style
Step 2: Disable Exposure and Depth of Field

Step 3: Add the Sun effect
- Decrease the Sun height from 0.7 to 0.4
- Increase Sun heading from 0.1 to 0.2
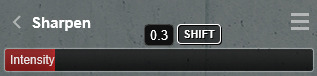
Step 4: Increase Sharpen from 0 to 0.3
Step 5: Add the Analog Color Lab effect
- Increase the Style from 0 to 1.7
- Decrease the Amount from 1 to 0.2
Step 6: Add the Noise effect
- Decrease Intensity from 0.5 to 0.1
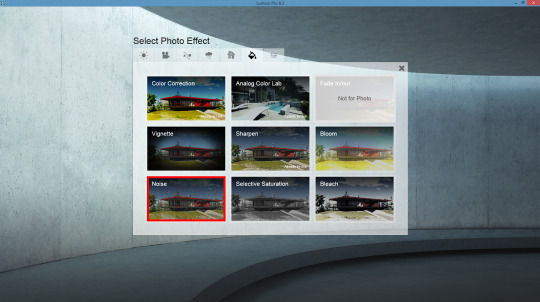
Step 7: Click on the Color Correction effect
- Decrease Temperature from 0.5 to 0.2
- Decrease Tint from 0.2 to 0.0
- Decrease Brightness from 0.8 to 0.5
- Increase Contrast from 0.5 to 0.7

Step 8: Increase Hyperlight from 35 to 40.9

Step 9: Click on Sky Light
- Increase Brightness from 1.0 to 1.4

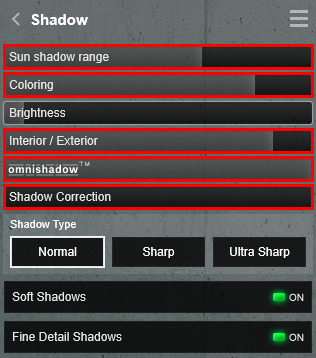
Step 10: Click on Shadow
- Increase Sun shadow range from 390m to 1,019m
- Increase Coloring from 0 to 1.6
- Increase Interior / Exterior from 0 to 0.9
- Increase Omnishadow to 3.0
- Decrease Shadow Correction to 0
Step 11: Don’t forget to add Reflections

Step 12: Render!
Show your designs in a style you’ll love, and render faster than ever
Choosing and adjusting the right arrangement of effects can mean the difference between an “okay” render and an image that’ll blow your clients’ socks off.
Fortunately, you don’t have to add all of your effects from scratch. By using one of the Styles, you can make a few adjustments and quickly create a style that uniquely communicates your architectural works.
#Lumion