Lumion BLOG
Feel the space with Lumion
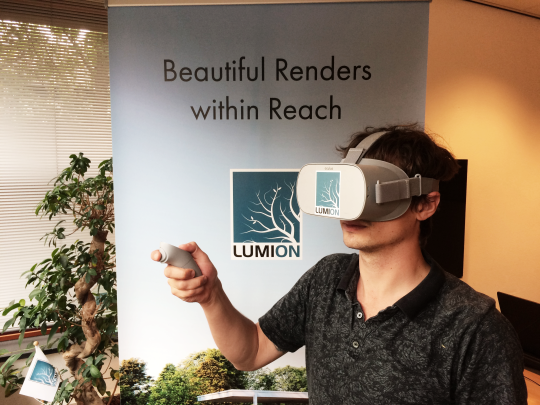
Oculus Go and VR experiences with Lumion 8
TweetShareShareShareGo beyond the “look” of your 3D designs, and transport your clients into the heart of unbuilt spaces by rendering 360 panoramas for the Oculus Go and other VR headsets in Lumion 8.
In many ways, the recently released Oculus Go headset presents an immersive look in the future of VR and 3D architectural visualization.
With the addition of the striking, highly realistic renders from Lumion 8, you’ll have the architectural tools needed to make sure that your clients are truly feeling the spaces around them, instead of being limited by stretches of the imagination.
In this blog post, we’ll discuss rendering 360 panoramas in Lumion 8, and how VR technologies such as the Oculus Go can help deliver your projects in a format that’ll pull your audience through the front door of your design and blow them away.
Benefits of using the Oculus Go with Lumion 8
Here at Lumion HQ, we decided to give the Oculus Go a test run right after it was released. Compared to existing VR solutions, we preferred the Oculus Go for many reasons, some of which included:
- Affordable (~$220 for 32GB), yet it delivers relatively high visual quality compared to phone-based solutions.
- Works without a phone.
- Cordless performance.
- Image file transfers can be done through DropBox, so there’s no need to connect a cable to the PC.
- Video file transfers can be done through a USB cable, as uploading to DropBox can take too long. You can keep the USB cable plugged into your PC after transferring for immediate viewing.
- Easy way to access your custom content. Click on ‘Gallery’ (bottom-right of the home screen), and then click ‘Internal’ or ‘DropBox’. If you clicked ‘Internal,’ then you should select ‘Albums’ at the top and browse to the folder (=Album) where you stored your content. This workflow lets you easily organize and access your own content (no need to first select an app).
- The hand controller works pretty well. It’s better than touching the side of the headset like on the Samsung Gear VR.
- Built-in sound works great, and you don’t need to use large earpads. Adding sound to your Lumion panoramas would certainly add to the ‘wow’ effect.
How to render 360 panoramas in Lumion 8
Rendered images and videos often serve as the keystone for many architectural and design presentations across the world. By throwing 360-degree panoramas into your mix of materials that you’ll present to the client, you have a highly immersive piece of media that asks the client to step inside of his/her to-be-built structure.
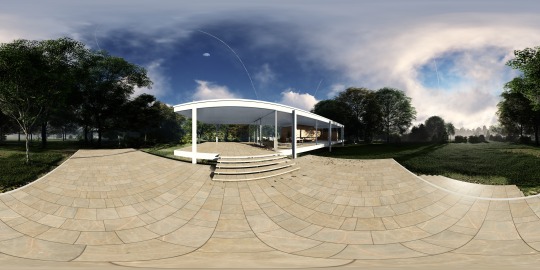
Monoscopic panorama of the Farnsworth House.
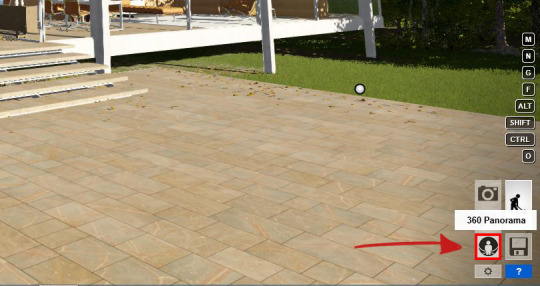
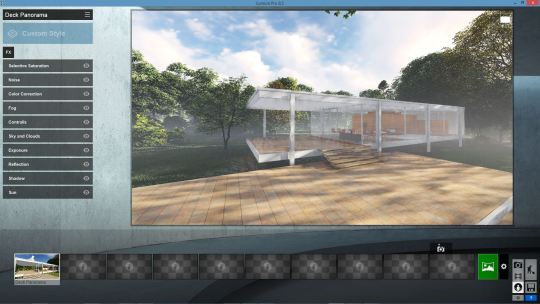
Fortunately, rendering static 360 panoramas in Lumion is quite straightforward. After importing your model, applying the correct materials and adding objects, all you need to do is click on the ‘360 Panorama’ icon to enter this output mode.
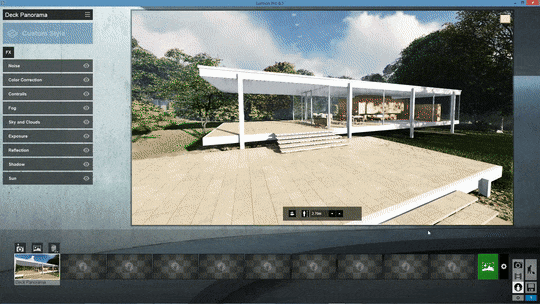
While setting up the panorama is extremely easy, there are a limited number of effects to customize the exact look of your render. For instance, ‘Sky Light’ is a high-tech lighting effect created to breathe space and add depth to your renders. This effect is available in image and video modes, but not for panoramas. More information about adding effects to 360 panoramas can be found in the next section.

When you’ve added the right effects, you can render by clicking on the green render button or, if you hold the mouse over the panorama thumbnail, you can simply click the ‘Render Panorama’ icon that appears.
The last step is to choose the right panorama settings.

It’s important to keep in mind that your choices will determine the length of time needed to render the 360 panorama. Five-star output quality with a stereoscopic output for the Oculus Go, for instance, may take a very long time (depending on your graphics card and the complexity of your Lumion scene). Three-star quality without stereoscopic, however, takes just a few minutes.
While this gif is in fast motion, the entire rendering time was ~1 minute and 30 seconds.
After rendering the image, it’s important to note that the Oculus Go might have troubles showing a monoscopic panorama (from our tests, it worked fine with the stereoscopic renders). Additionally, some websites (Facebook and Google, for instance) also won’t be able to show the 360 panorama without the correct metadata.
According to Facebook, 360 photos need to have an Exif XMP tag, “ProjectionType=equirectangular”. There are third-party tools that can help you inject this tag into your panoramic image’s metadata.
360-degree VR images with visual effects
Unlike still images and video animations, the 360-degree panorama rendering option in Lumion doesn’t let you add ALL of the effects that you might like. Plus, the Styles options aren’t available for 360 panoramas.
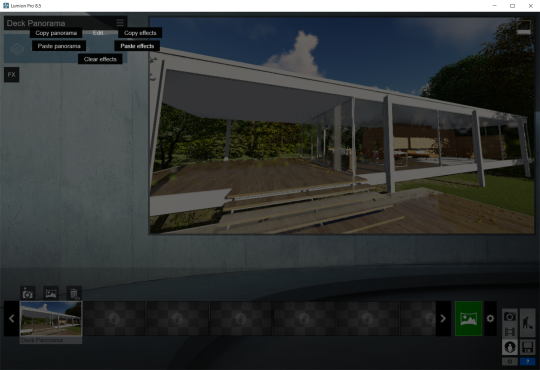
Not many people know this, but you can copy-paste some of the effects from an image or video clip to your panorama image. To copy the effects from an image, simply click the 3 horizontal lines to the right of Photo - 1 and then select “Copy effects”.
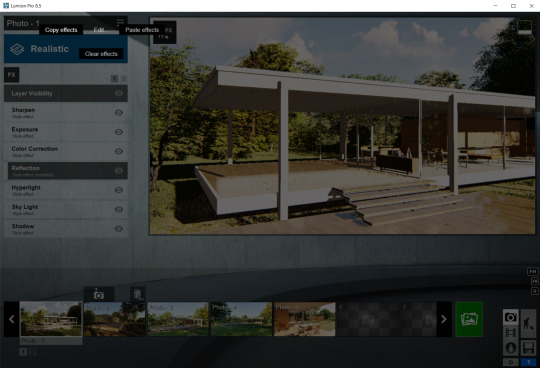
To paste them in a panorama, follow the same route:
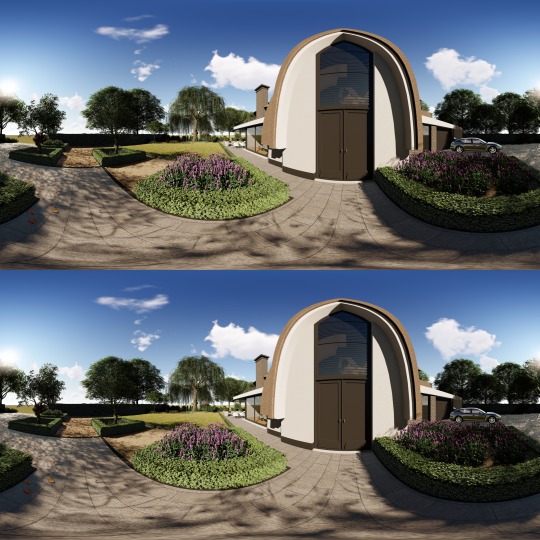
To show the impact that effects can have, we made some 360 panorama VR images, both in stereoscopic and mono. The slice-count for these images was 150 and the panorama was rendered with three-star quality to save time. There is hardly any visible difference between these images and the high-end settings.
Feel free to download the following stereoscopic panoramas and try it out for yourself.
Dutch House, rendered in 4K in Lumion 8.5.
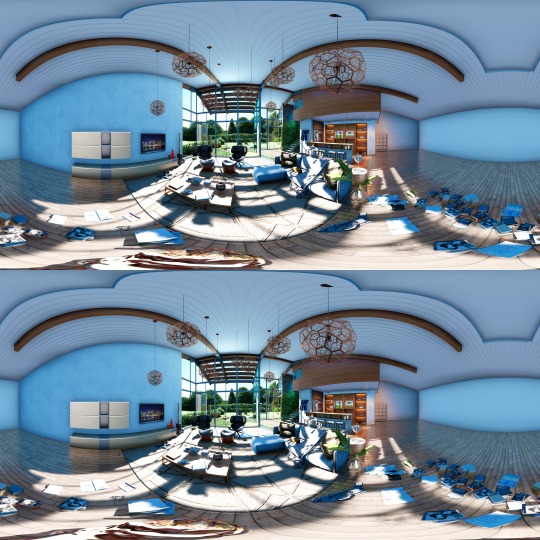
Spacious Interior, rendered in 4K in Lumion 8.5.
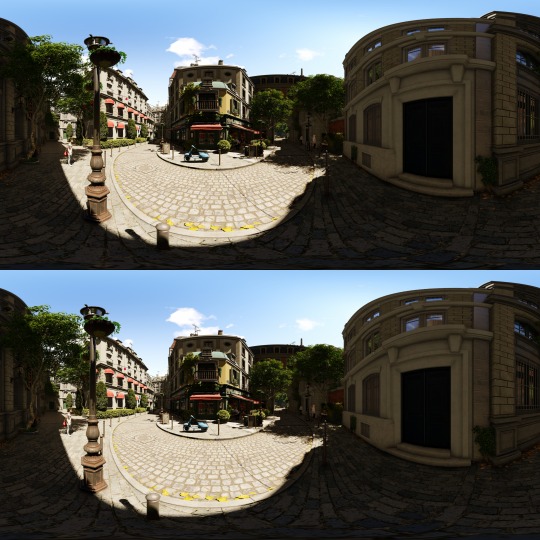
Paris Street, rendered in 4K in Lumion 8.5.
How to render stereoscopic 3D video
Viewing static, 360-degree images with a VR headset is definitely an exciting, enlightening experience; however, if you can create a touch of movement, the entire VR scene will take on a whole life of its own, as if it were transporting you to a different world.
What we discovered (more or less by accident) is that the Oculus Go is quite adept at showing movies/animations. For instance, if you render a stereoscopic 3D movie in Lumion and then add ‘_3D’ at the end of the movie’s filename, then Oculus Go will recognize the file and open a special, built-in viewer. Simply click the filename to bring up the 3D cinema theater and you’ll see your animation playing on the movie screen.
*Not working? Try rebooting the Oculus Go by pressing the ‘Start’ button for about 10 seconds; the issue may be related to a memory problem.
To create stereoscopic 3D movies in Lumion, you’ll need to render a movie (as opposed to a 360 panorama). And when setting up the effects for the movie, all you need to do is add the stereoscopic, ‘Side By Side 3D Stereo’ effect to the whole movie, available from the ‘Various’ category (see next image). This effect isn’t available for single clips.

To achieve the best possible output, we experimented with a range of Lumion scenes and settings. Here are some of our findings:
- 3-star rendering quality is OK for most scenes. You usually won’t notice any difference with 4 and 5-star quality.
- There is no visual difference between 2.5K and 2K resolution, which means that you can use 2K for rendering without a reduction in visual quality.
- Set the camera’s field-of-view to 25mm. This roughly corresponds to a 90-degree field-of-view, which is similar to what you perceive when wearing the headset and looking at the video display screen.
- Don’t move (animate) the camera, as it can make some people sick. If you have to move the camera, make sure to do it at an extremely slow. See some of the examples.
- Don’t use any blur FX. Keep the animation sharp.
- Don’t place the camera too close to objects, especially towards the peripheries of the field-of-view. Keep a 1.5m distance at least. When viewing objects from a longer distance (8m or more), please note that it will have a limited stereo effect. Therefore, the optimum distance from objects is between 1.5m and 8m.
- Use wind, birds, water and other elements to bring some life and movement into the scene.
- Render each scene to play for at least 8 seconds. This is because people need some time to adjust to what they see.
Most people who have created VR videos in Lumion think that the stereoscopic 3D effect adds a pretty significant ‘wow!’ factor, and from a practical point-of-view, this type of immersive viewing experience also gives a better impression of the size, mood and feeling of a particular building exterior, landscape, or interior.
Want to test out a few Lumion stereoscopic videos in your VR headset? Download the example videos here.
Feel the space like never before with Lumion and Oculus Go
From the cinemagraph showing a property amidst palm trees blowing in the wind, or the stereoscopic interior that demonstrates a sense of space in a first-hand manner, using Lumion for 360-degree panoramas and VR is a powerful way to connect with clients.
For more information about how you can adopt Lumion into your firm’s current workflow, whether for images, movies or VR, send us a message on the Lumion Support Center.
#Lumion